


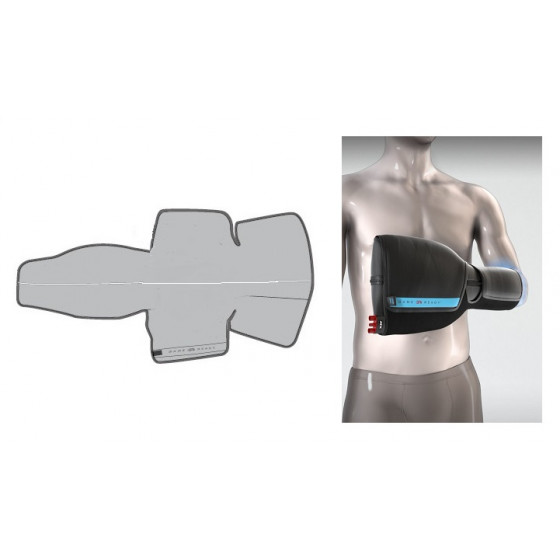
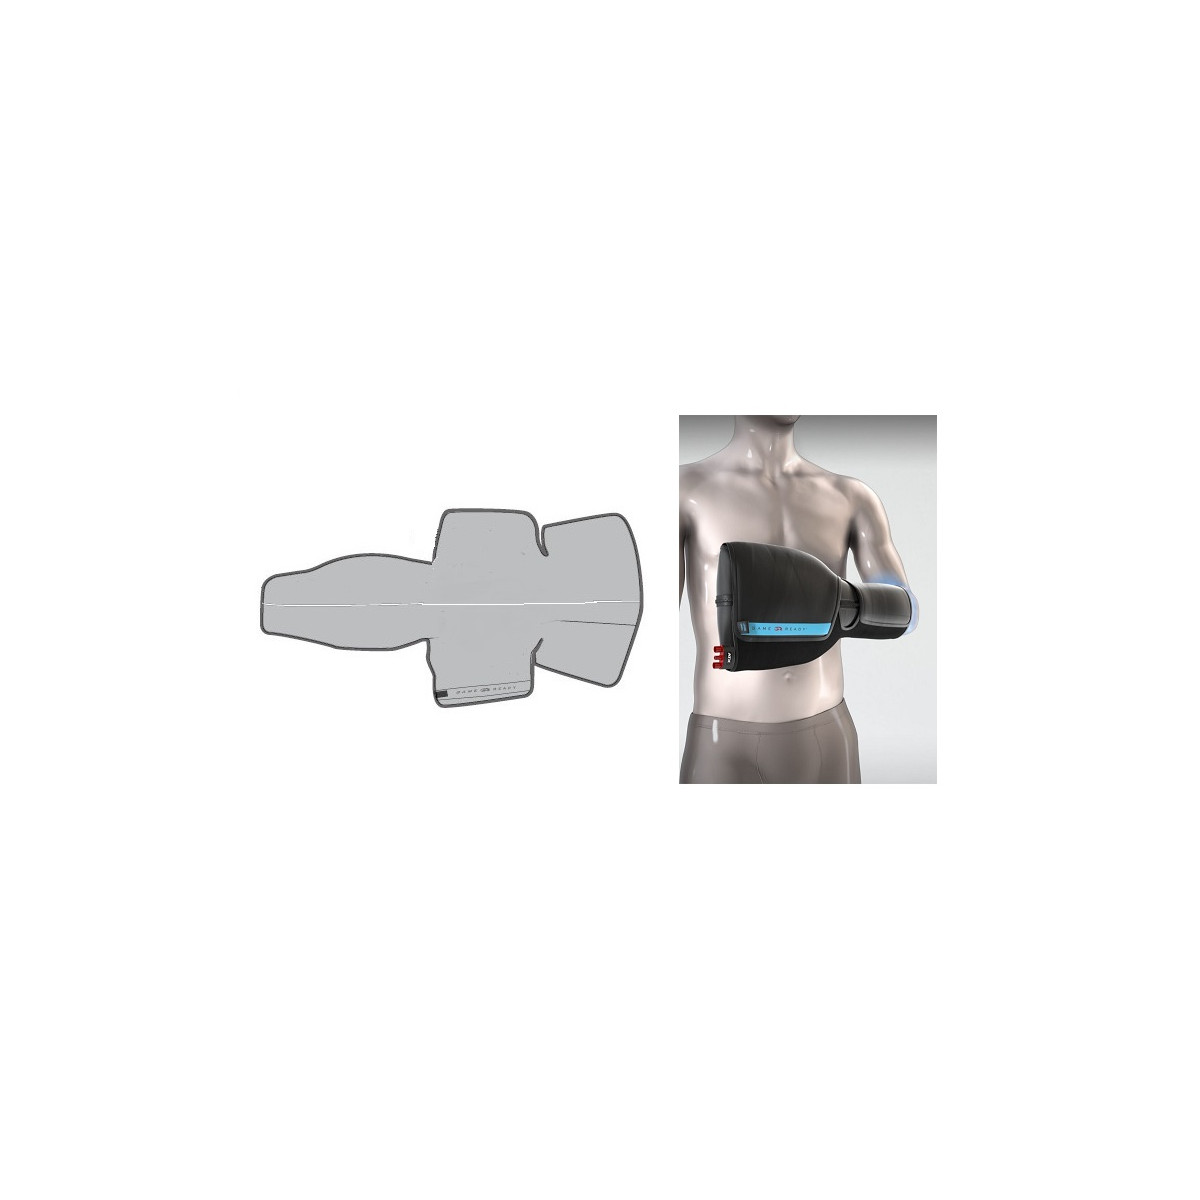
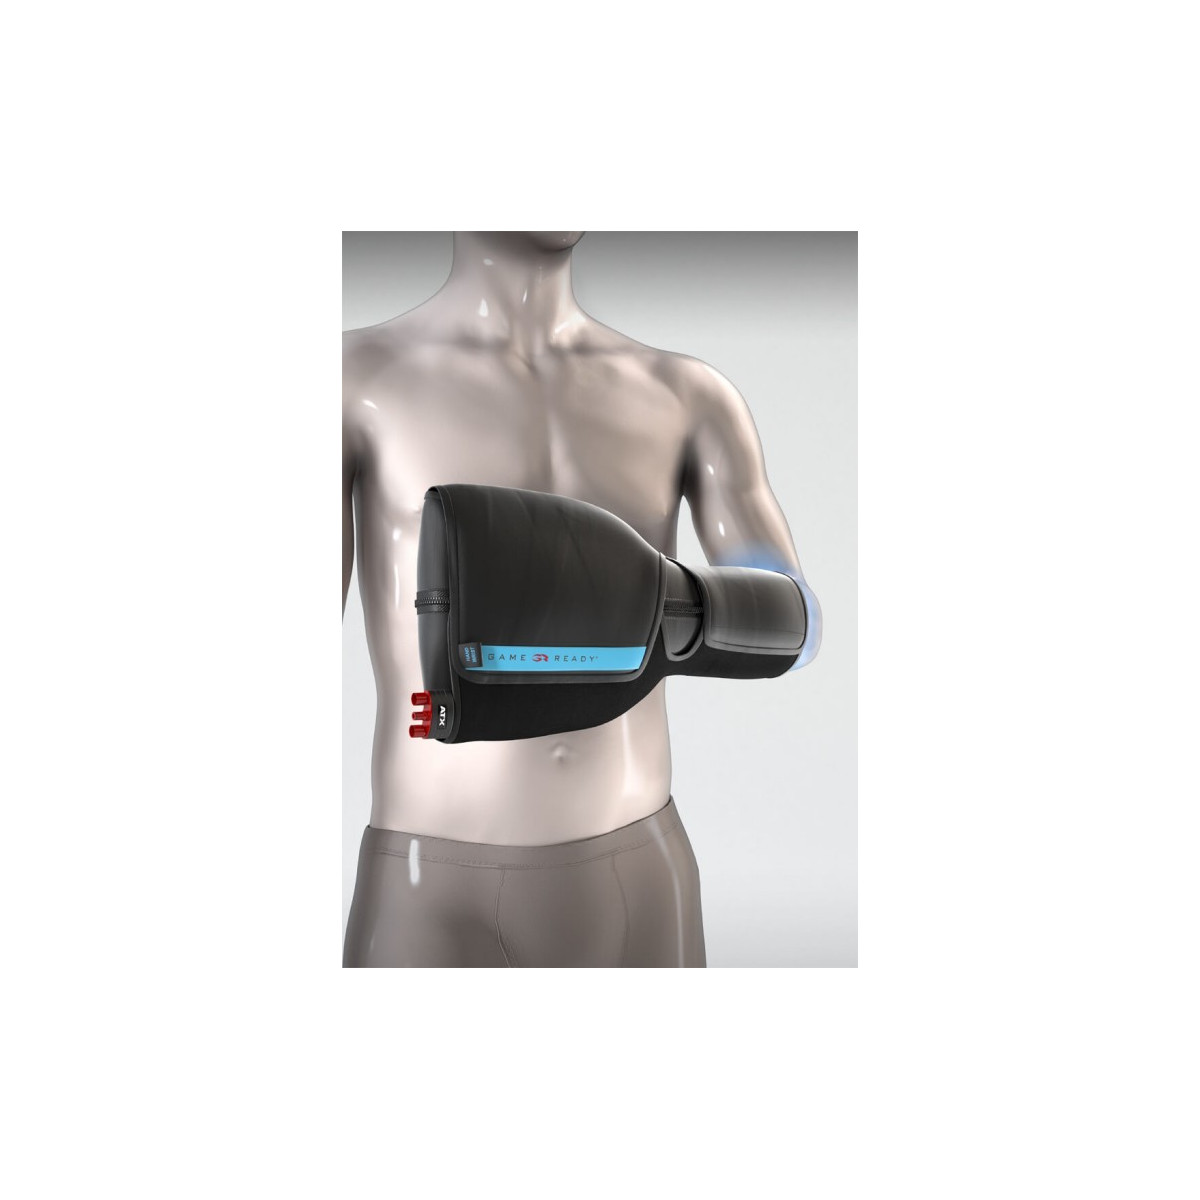
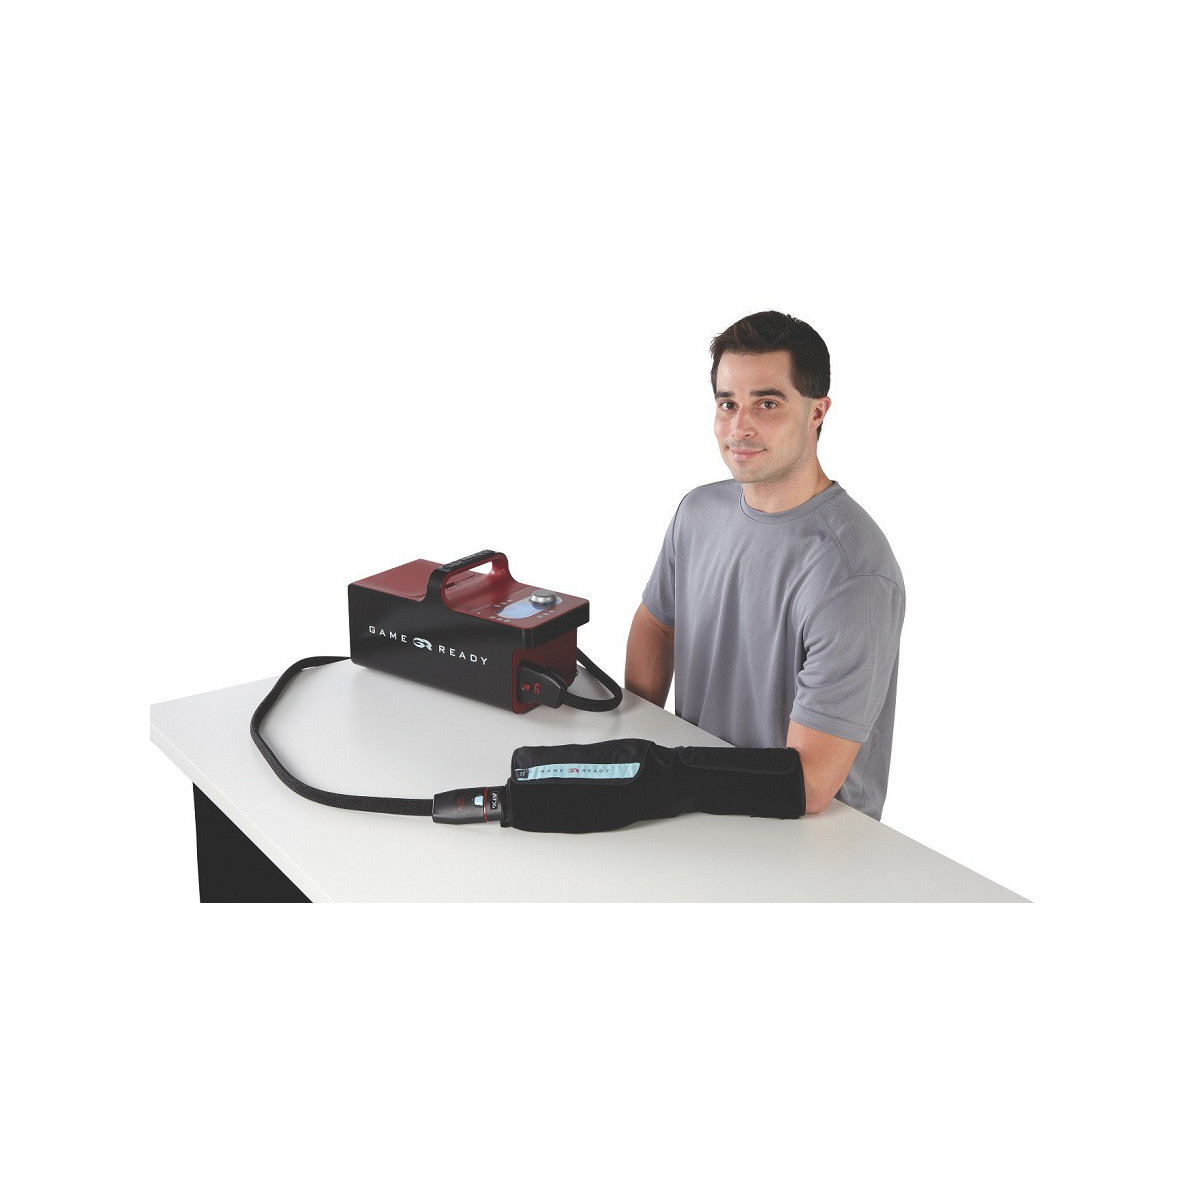
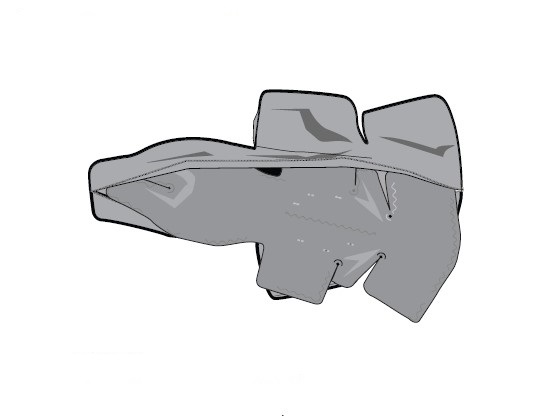
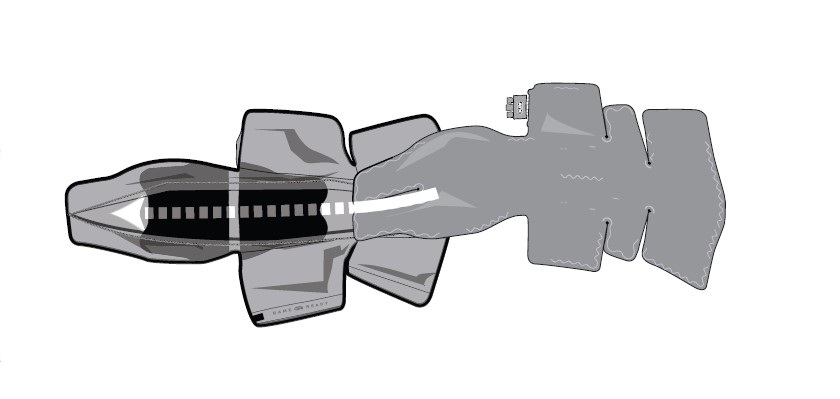
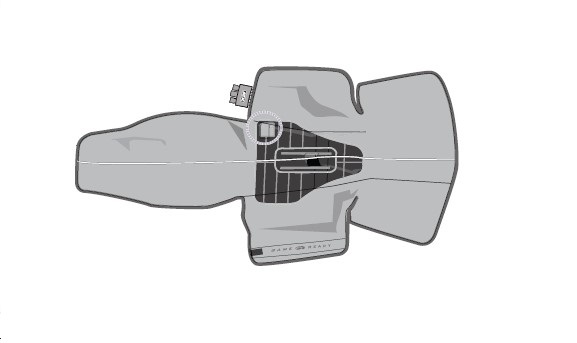
Sleeve for Integrated Hand/ Wrist Wrap - Game Ready
£66.00 (incl. VAT)
CUSTOMER SERVICE
at your service Monday to Friday from 9:00 am to 5:00 pm
PAYMENT
100% SECURE
Accessories
You may also like
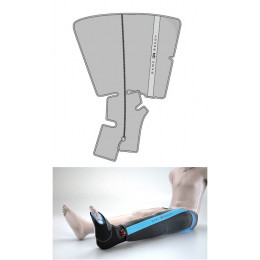
Full leg boot sleeve (large size) - Game Ready
Replacement full leg boot sleeve for GAMEREADY. Large size (L).
£198.00
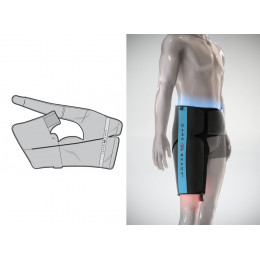
Sleeve for Hip / Groin Wrap - Game Ready
Replacement sleeve for Hip / Groin Wrap (ref. 590602/590604). One size....
£72.60
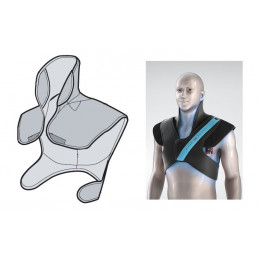
Sleeve for C-T Spine Wrap - Game Ready
Spare sleeve for Game Ready C-T Spine wrap. One size only.
£112.20
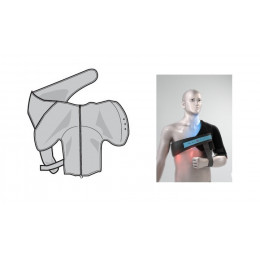
Sleeve for shoulder wrap - Game Ready
Replacement Sleeve for shoulder wrap medium/large and right/left (ref....
£87.12
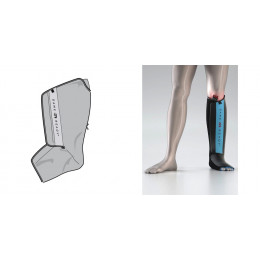
Half-boot sleeve (calf-ankle) - Game Ready
Half-boot wrap sleeve (calf-ankle) - Game Ready
£79.20
Sleeve for C-T Spine Wrap - Game Ready
Spare sleeve for Game Ready C-T Spine wrap. One size only.
£112.20
Sleeve for Hip / Groin Wrap - Game Ready
Replacement sleeve for Hip / Groin Wrap (ref. 590602/590604). One size....
£72.60
Sleeve for shoulder wrap - Game Ready
Replacement Sleeve for shoulder wrap medium/large and right/left (ref....
£87.12
Full leg boot sleeve (large size) - Game Ready
Replacement full leg boot sleeve for GAMEREADY. Large size (L).
£198.00
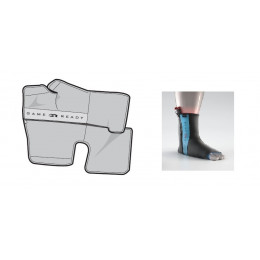
Sleeve for ankle wrap - Game Ready
Replacement sleeve for large and extra-large ankle wraps (ref. 590330/590340).
£66.00
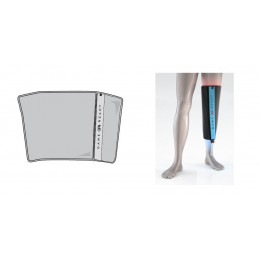
Sleeve for Straight Knee Wrap - Game Ready
Replacement sleeve for Straight Knee Wrap (ref. 590100).
£72.60
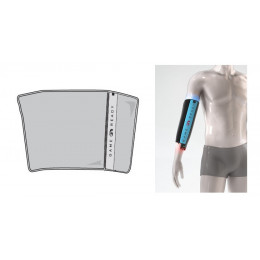
Sleeve for Straight Elbow / Calf Wrap - Game Ready
Replacement sleeve for Straight Elbow / Calf Wrap (ref. 590200), one size...
£59.40


